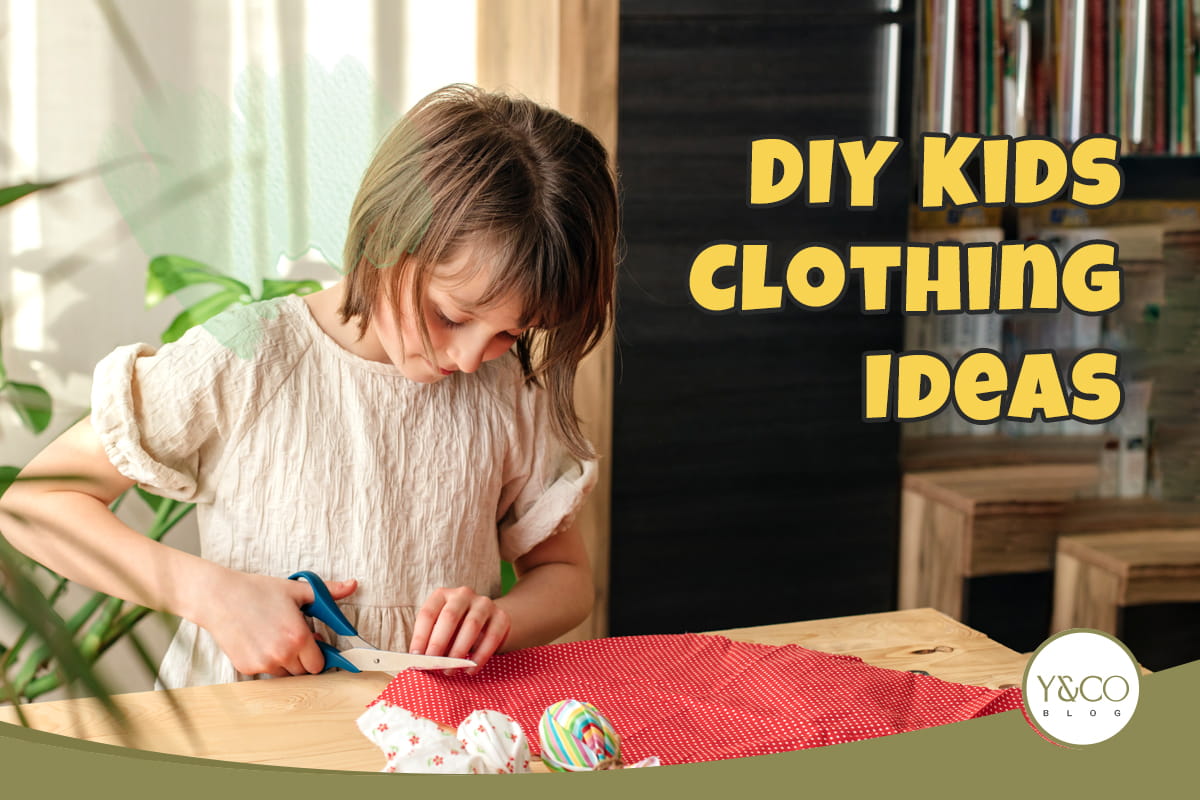
DIY kids’ clothing is surprisingly fun and creative – anyone can transform old t-shirts into adorable onesies or make no-sew bibs with just basic supplies from home. With simple step-by-step projects, even busy parents can create personalized pieces their kids will actually want to wear while spending less and giving new life to old clothes.
In This Article
It all started with my daughter’s unicorn shirt. It had a big grape juice stain and I thought I had to throw it away. But then I took some scissors and turned it into a cute little romper. Now she loves it so much, she doesn’t even want to take it off at bedtime! Even though my sewing wasn’t perfect and I poked my fingers a few times, that small project made me really excited about turning old clothes into new things my kids can actually wear.
There are lots of good reasons to do DIY: you save money, reduce waste, and know exactly what fabric is touching your child’s skin. But the best part? When you make something by hand, you’re not just making clothes, you’re making memories too.
Making your kids’ clothes doesn’t require fancy equipment or Martha Stewart-level skills. With basic supplies and the step-by-step guides I’m sharing below, you can transform old clothes, fabric scraps, and even that pile of outgrown onesies into easy-to-wear baby dresses.
Start with something simple like a no-sew bib or elastic waist pants. Most projects take under an hour, and there’s nothing like that feeling when someone compliments your child’s outfit and you can say, ‘Thanks, I made it!’ Each little project gets easier as you go, and those slightly imperfect handmade pieces often become the most treasured items in their wardrobe.
Why Choose DIY Kids Clothing?

Seeing my little one proudly wearing pants I made from my husband’s old work clothes brings a special kind of joy. They’re far from perfect like the pocket is slightly crooked and one leg is a quarter-inch shorter than the other. But seeing her proudly announce “Mommy made these!” makes every pricked finger worthwhile.
DIY kids’ clothing offers great benefits for parents. Kids grow fast, and buying expensive store-bought clothes that they’ll only wear a few times doesn’t make sense. Making clothes at home saves money and creates better-fitting items for your child. You control what materials touch their skin, no mystery fabrics or scratchy tags. Old clothes get new life instead of filling landfills. Dad’s shirt becomes a cozy sleep sack or grandma’s tablecloth transforms into a special dress with a story behind it.
Here in the UAE, you might spend anywhere from 69 to 495 dirhams on store-bought kids’ outfits depending on the brand. DIY projects cost a fraction of that while giving you something uniquely made for your child.
DIY children’s clothes are not only about saving money or being creative, but also about building connections, preserving memories, and making something truly special for both the child and the family.
Basic Tools and Materials You’ll Need

Wondering what you’ll need to start making baby clothes? Just grab these everyday items:
- Good fabric scissors (kitchen scissors will ruin your fabric!)
- A pack of needles – thick ones for heavy fabrics, thin for delicate stuff
- Strong cotton thread – the cheap kinds snap when you least want them to
- Some pins or those plastic clips that look like tiny clothespins
- A measuring tape from your junk drawer
- Just a regular iron – nothing fancy needed
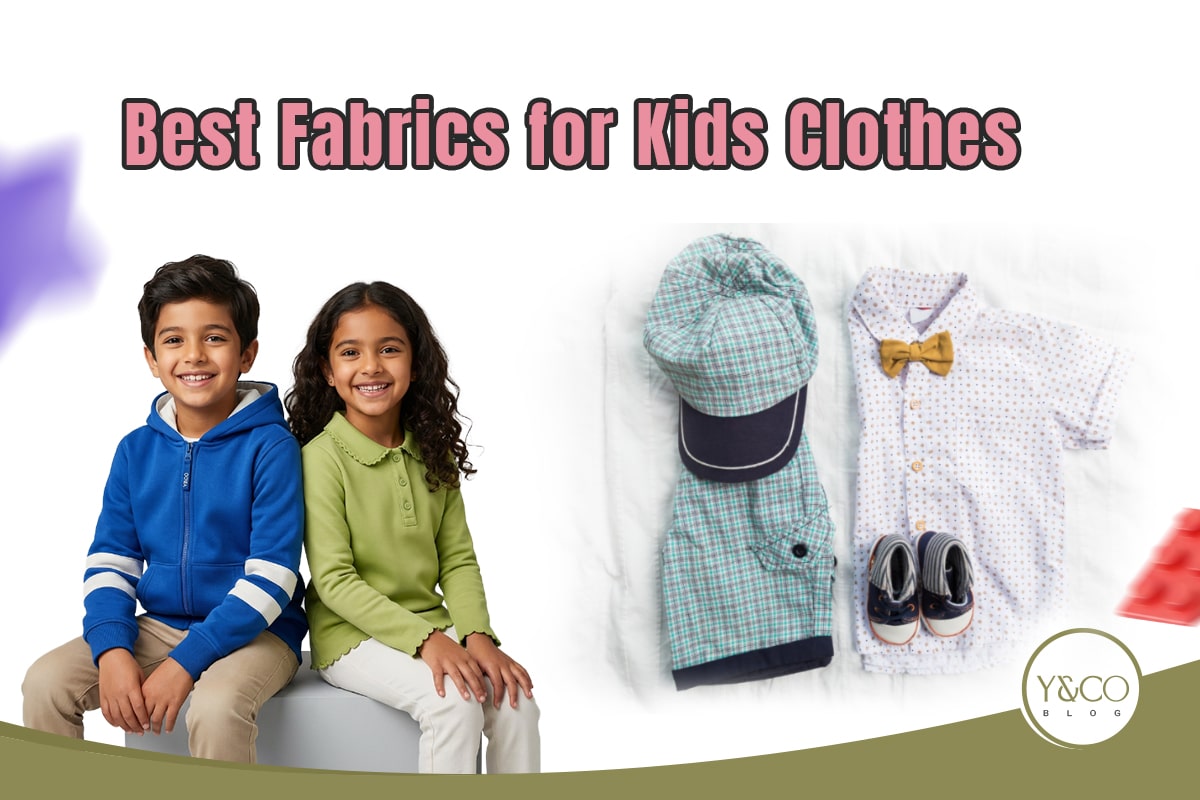
Baby-Friendly Fabrics to Look For:
- That soft t-shirt material (cotton jersey) feels nice on their sensitive skin
- Flannel for cooler evenings – super gentle and cozy
- Light cotton fabrics that let air through during hot days
- Whatever you use, wash it first! Nothing worse than making something perfect that shrinks to doll-size later
- Pre-washed fabrics – prevents shrinkage after sewing
Stuff Around Your House to Use:
- Those t-shirts sitting in your drawer that you never wear
- Baby clothes they’ve outgrown but you couldn’t bear to give away
- That extra set of sheets nobody uses
- Your partner’s old button-downs that are still in decent shape
Quick Tip: Seriously, wash everything first. I learned this the hard way when my daughter’s cute new pants turned into capris after one wash!
You can get started with about 25 dirhams for basic supplies, but honestly, most projects use things you already have lying around.
Easy DIY Kids Clothing Ideas

Baby Onesie from an Old T-Shirt
- Cut the T-shirt: Grab one of those XL shirts nobody wears. Lay a onesie that fits your baby on top as a pattern. Cut around it leaving extra half-inch all the way around.
- Sew it together: Pin the shoulder parts first, then sew. Sew down the sides using that zigzag stitch so it stretches when baby wiggles.
- Bottom closure: Get those plastic snaps (16mm size) and attach 3-4 of them across the bottom, spaced about an inch apart.
- Make it cute: Stick on a patch, draw something with fabric markers, or leave it plain and simple.
Simple Baby Pants
- Cut fabric: Use soft stretchy fabric (like jersey knit). Cut two 12″×16″ pieces for 6-12 month size pants.
- Sew legs: Put the two pieces together and sew along the curved sides, then sew the front and back.
- Add waist elastic: Fold the top of the pants 1 inch and sew it, leaving a little gap. Add 1/2-inch wide elastic around the waist.
- Finish bottom: Fold the leg edges up 1/2 inch and sew them with a zigzag stitch to keep them stretchy.
Reversible Baby Blanket
- Pick fabrics: Hunt down two super soft fabrics you love – about a yard each works for a good-sized baby blanket. Don’t skip washing them first or you’ll regret it later!
- Sew the edges: Line up your fabrics with the pretty sides facing each other. Pin around so nothing shifts, then sew the edges but leave a hand-sized opening on one side.
- Turn it inside out: Reach through that opening you left and pull everything through. Use your fingers or a chopstick to poke out the corners so they look nice and sharp.
- Close the gap: Fold in the raw edges at the opening and stitch it closed with tiny stitches that won’t show much.
- Add taggies: If you want to make it extra special for baby, cut 10-15 different ribbon loops and tuck them between the fabrics before sewing. Babies love playing with these little tags!
No-Sew Baby Bib
- Get material: Use an old t-shirt or towel made of cotton.
- Trace bib shape: Draw a 9″×12″ shape with a 3-inch hole for the neck.
- Cut it out: Cut carefully around the shape.
- Add Velcro: Stick 1.5-inch Velcro strips to each side of the neck hole.
Now you can see without stitching a simple bib is ready.
Easy Toddler Skirt
- Pick fabric: Get 1/2 yard for heavy fabric (like denim) or 3/4 yard for light fabric.
- Cut rectangle: For 2T size (2 Years old) , cut 28″×10″. For 3T-4T (3-4 years old), cut 30″×12″.
- Fold top edge: Fold 1.5 inches at the top and sew it to make space for elastic.
- Add elastic: Put 3/4-inch wide elastic around the waist and sew the ends together.
- Finish skirt: Fold and sew the leg edges, then add ribbons or pictures for fun!
Cute & Easy DIY Accessories for Babies

Soft Baby Headbands
Find a soft t-shirt you don’t use anymore. Cut a strip about as long as your arm and as wide as three fingers. Fold it in half the long way and sew along the edge.
Turn it inside out so the seam is hidden. Sew or glue the ends together to make a circle that fits your baby’s head.
Want to make it prettier? Cut a small rectangle from the same fabric, pinch it in the middle, and sew it to the band to make a cute bow.
Baby Booties from Felt or Fleece
Get some soft felt or fleece fabric. Draw around your baby’s foot on paper, making the outline a bit bigger all around. Cut out four of these shapes from your fabric.
Also cut two rectangles about the size of a playing card. Sew two foot shapes together for each bootie bottom. Fold each rectangle and sew it to make the top part. Attach the top to the bottom part. Add a thin strip of elastic at the ankle so the bootie stays on. You can glue on small decorations if you want.
Pacifier Clips using Ribbons and Snaps
Find a strong ribbon about as long as your hand. On one end, attach a small clip (like the ones on suspenders) by folding the ribbon over and sewing it firmly.
On the other end, make a small loop and add a snap or button that can hold onto the pacifier ring. Make sure everything is sewn on very tight so nothing can come off. Now the pacifier can clip to your baby’s clothes and won’t fall on the floor.
Mini Beanie Hats (Upcycle from Old Sweaters)
Take an old sweater that’s soft and warm. Cut a circle about the size of a dessert plate (bigger for older babies). Fold the circle in half, then fold it in half again. Sew along the curved edge. Turn it right side out and you have a simple hat!
Fold up the bottom edge to make a nice rim. If you want, you can add a small fluffy ball on top made from leftover yarn or fabric.
Safety Tips for DIY Baby Clothes

1. Always Pre-Wash Fabrics
- Wash every piece of fabric with gentle baby detergent before you even think about cutting
- Gets rid of those factory chemicals you don’t want on baby’s skin
- Saves you from the heartbreak of making something perfect only to have it shrink to doll-size
- Insider tip: Buy about 5% extra fabric than you think you need – cotton loves to shrink!
- No Small Parts That Could Come Loose
- Forget the tiny buttons, sequins, or beads – they’re magnets for baby mouths
- Better choices: iron-on designs, fabric paint, or simple embroidery that can’t come off
- If your design absolutely needs buttons, use the big ones (bigger than a quarter)
- Tug test everything! If you can pull it loose with your fingers, your determined baby will too
- Choose Baby-Friendly Materials
- Stick with the soft stuff: regular t-shirt fabric, flannel for cozy things, lightweight cotton
- Stay away from itchy tulle, those plastic-feeling synthetics, or anything with glitter
- Cotton thread works better than polyester (which feels like fishing line on sensitive skin)
- Cheek test! If the fabric feels rough against your cheek, it’ll feel worse on baby
- Ensure Safe Construction
- Snip off every little thread hanging loose – they can wrap around tiny toes or fingers
- Sew shoulder seams and crotch areas twice – they take the most strain
- Neck holes need to fit two of your fingers comfortably
- Check that elastic bands just gently hug, not squeeze – they should only leave faint marks
Frequently Asked Questions
Q: Can I make baby clothes if I’m not good at sewing?
Yes. You can start with no-sew projects like simple bibs or headbands. Many DIY baby clothes need just basic straight stitches that anyone can learn.
Q: Is making baby clothes cheaper than buying them?
So much cheaper. I used an old t-shirt to make a cute baby outfit. It cost me about 5 dirhams for snaps. The same thing costs 80-100 dirhams in stores. Most projects use things you already have at home.
Q: What’s the easiest first project for a complete beginner?
Try a no-sew bib from an old t-shirt or simple elastic waist pants. Both take under 30 minutes and need basic skills but give useful items your baby will wear.
Q: What are the safest fabrics for baby clothes?
Natural fabrics are best for babies. Cotton, bamboo and linen feel soft on their skin. Skip the shiny synthetic stuff that smells funny. Always wash fabrics before you start sewing to get rid of chemicals.
Q: What should I do with all the baby clothes that are too small now?
Those outgrown clothes work great for new projects. Cut them for patches, turn onesies into bibs, or make several small items into a memory blanket. Their soft, pre-washed fabric works well for baby items.
Creating clothes for your child connects you both to a tradition that’s almost been forgotten in our ready-made world. Those little pants might have crooked seams and that headband might be a bit wobbly on the first try, but they’ll still be worn with pride.
Start with something truly simple like a no-sew bib or elastic waist pants. Most first projects take less than an hour, and there’s nothing quite like the feeling when someone asks, “Where did you get that adorable hat?” and you can proudly say, “I made it!” Each project gets easier as your confidence grows.
DIY projects are a fun activity if you are bored or want to explore something new. First, start with a step-by-step guide. You may tell yourself, “It’s too hard,” but honestly speaking, day by day, you won’t believe yourself when you see how creative you are.
Leave a Reply